Introduction
AKVIS Decorator 3 is an Adobe Photoshop-compatible plug-in that applies color or texture to the selected part of your image. It preserves the volume of the object, following its folds and creases. The overlaid pattern looks absolutely natural.
Decorator 3 is from AKVIS, a company based in Russia that specializes in graphic programs. Apart from Decorator 3, AKVIS also creates other Photoshop-compatible plug-ins like Refocus, Retoucher, Chameleon, MultiBrush, Sketch, Enhancer, Decorator, Coloriage, MakeUp, etc.
You can download a free 10-day trial version of Decorator 3 from the AKVIS site.
My contact at AKVIS for this review was Kat Kharina. Thank you, Kat.
Back
How To Use
Follow these steps to learn how to use AKVIS Decorator 3:
- Open the image you want to use inside Adobe Photoshop or a similar program.
- Make the selections as required, and choose the Filter | AKVIS | Decorator option, as shown in Figure 1, below.

Figure 1: AKVIS Decorator plug-in within the Filter menu - Doing so opens the image with the selection you made within the Decorator interface, as you can see in Figure 2, below.
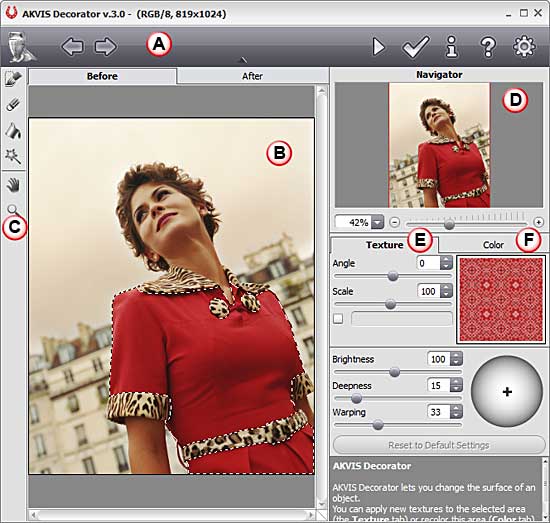
Figure 2: AKVIS Decorator interface - The AKVIS Decorator interface is explained below. Each area corresponds to the area marked in Figure 2, above:
A. Buttons
- The upper part of interface is the Control Panel with buttons on both the left and right sides, representing the options to undo/redo, to start processing the image, and to apply the result to the image. There are also buttons to launch the information dialog, help files, open the AKVIS Decorator home page, and the Preferences dialog box.
B. Preview
- Preview has two tabs: Before and After, which shows previews of both the original and changed images.
C. Tools
- Here you can access the following selection tools:
1. Selection Brush
- Lets you select a particular area in your image. If a selection already exists (represented by the area within the dotted lines, refer to Figure 2, above), you can use this tool to add more areas to your existing selection.
2. Eraser Tool
- It is used to edit a selection.
3. Selection Bucket
- Helps to fill an area outlined with the Selection Brush (useful for selecting large areas).
4. Magic Wand
- Selects all pixels of the same color. This tool is useful for selecting contiguous areas of the same or similar colors.
- The tools' parameters are shown in the Settings Panel or in a pop-up box after right-clicking in the image window, as shown in Figure 3, below.
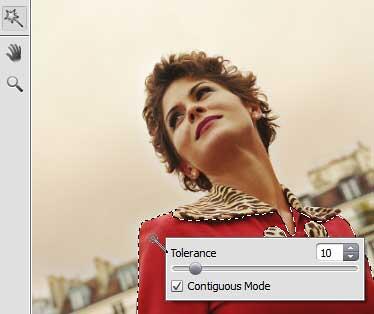
Figure 3: A pop-up box appears when right clicked in the image window - There are some other tools such as Hand and Zoom. These let you alter the viewing area of the open image.
D. Navigator
- On the top right, you'll find the Navigator. This also lets you chose the area of the image to be shown in the Preview pane.
E. Texture Tab
- Enables you to apply a texture from the built-in Library. You can also tweak parameters further to fine-tune the resultant texture effect.
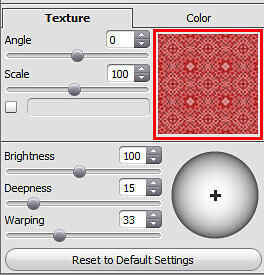
Figure 4: Texture tab - To access the library, double click the thumbnail of the active texture, which has been shown highlighted in red in Figure 4, above. This opens the texture Library, as shown in Figure 5, below.
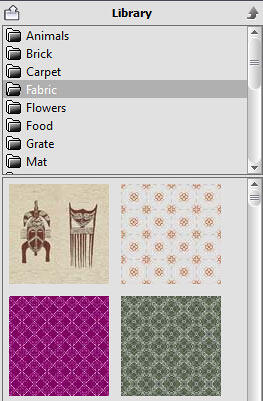
Figure 5: Fabric Texture thumbnails within the Library F. Color Tab
- Color Tab (see Figure 6) allows you to select a color from the Color Palette or from the Select Color dialog box.
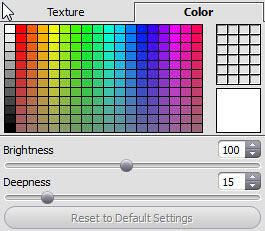
Figure 6: Color tab - Play with the parameters, and when you get the result you want - apply the changes to the preview by pressing the Run button that you can see below.

- This applies the effect and creates a preview of the changed image in the After tab, as shown in Figure 7, below.
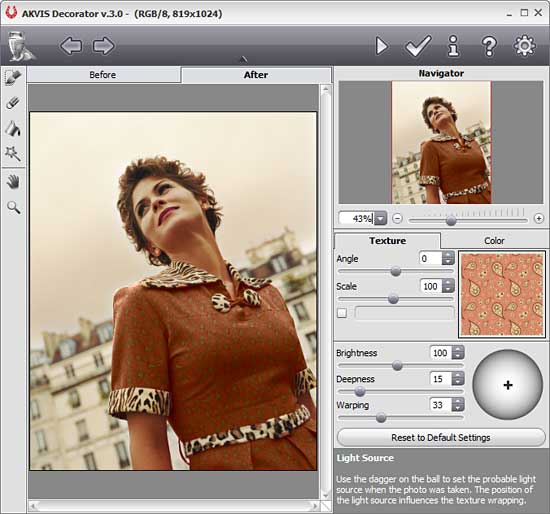
Figure 7: Preview the changes - Once you’re done, apply the result to the image by pressing the Apply button (shown below) to return to the image editor.

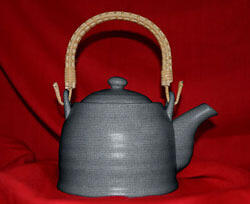
Here are some Before and After samples:


Back
Specifications
| Photoshop Versions: |
Photoshop 6 and higher |
| Platforms: |
Windows, Mac |
| Site: |
AKVIS |
| Price: |
USD $54 and above |
| Trial Version: |
Available for 10 days
|
Back


