Learn how to duplicate shapes by dragging them to make copies on a slide in PowerPoint 2016 for Windows. This is a quick and intuitive way to quickly end up with duplicated shapes.
Author: Geetesh Bajaj
Product/Version: PowerPoint 2016 for Windows
OS: Microsoft Windows 7 and higher
Shapes in PowerPoint are very useful in representing design or content, or in showing a process or a sequence. However, when you create a slide that has many such shapes, you'll find that most of your shapes may be the same size and may also share other similar attributes. Figure 1, below, shows a sample slide where the same shape is placed multiple times.

Figure 1: Same shape used multiple times
Yes, you can go ahead and insert the same shape into PowerPoint repeatedly, but that will consume much of your productive time that you could have used elsewhere! There are quicker alternatives for duplicating shapes.
Follow these guidelines to duplicate shape by dragging in PowerPoint 2016 for Windows:
Select the shape, and press the Ctrl key so that your cursor now has a plus sign, as shown in Figure 2, below. This plus sign in the cursor indicates that a copy of the selected shape (or a selection of multiple shapes) will be created when you drag it and drop it elsewhere on the slide.
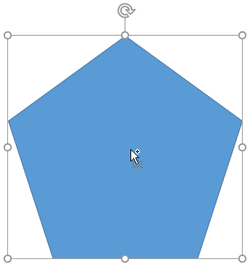
Figure 2: Changed cursor
Without releasing the Ctrl key, drag the shape anywhere on the slide to create a copy, as shown in Figure 3, below. Once your shape has been duplicated, and is dragged to the required position on the slide, release the Ctrl key.
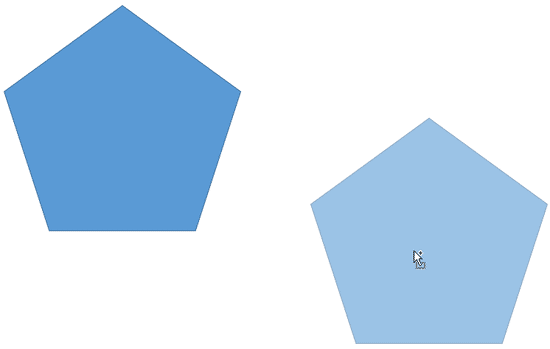
Figure 3: Create duplicate of the selected shape
As you can see in the previous example, you can drag a duplicated copy of the shape anywhere on the slide, but sometimes you want a copy of the selected shape to be created in the same horizontal or vertical plane as the original. To do so, select the shape you want to duplicate. Then, press the Ctrl and Shift keys together and drag the shape to create a copy. You will find that PowerPoint constrains your dragging so that new copies of the shape are only created exactly up, down, left, or right in 90° increments. In Figure 4, below, you can see a copy of the shape created by Ctrl + Shift dragging the shape upwards.
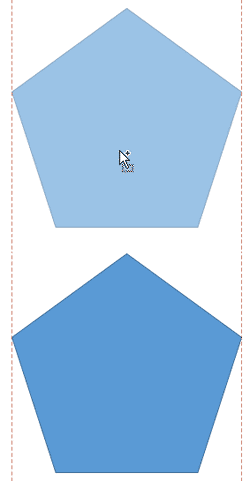
Figure 4: Shape copied exactly upwards at 90° (perpendicular to the original)
If you press Ctrl + Shift, and drag the selected shape towards right, you create a copy of the shape at 0°, as shown in Figure 5, below.
Do you see red dashed lines when dragging shapes with both the Ctrl and Shift keys pressed? These are Smart Guides, and they help you position your slide objects accurately in relation to another object. Learn more in our Smarter Guides in PowerPoint 2016 tutorial.
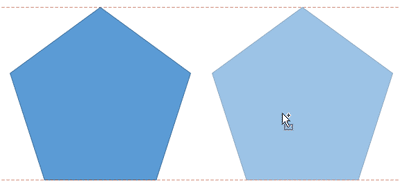
Figure 5: Shape copied at 0°
Ctrl + Shift drag the selected shape towards left to create a copy of the shape at 180°, as shown in Figure 6, below.
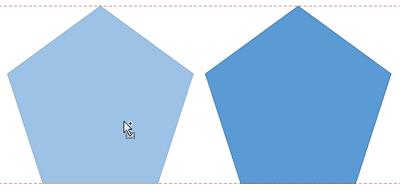
Figure 6: Shape copied at 180°
Ctrl + Shift drag the selected shape to the bottom to create a copy of the shape at 270°, as shown in Figure 7, below.
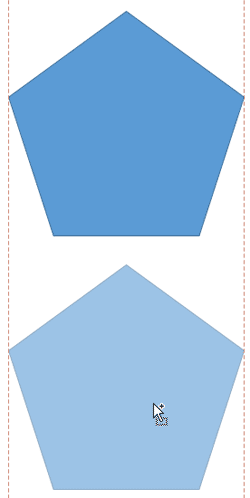
Figure 7: Shape copied at 270°
Release the Ctrl and Shift keys when you are done duplicating.
You can select multiple shapes and Ctrl drag (or Ctrl + Shift drag) to create copies of all selected shapes at one go. Also, these dragging and duplicating options work with anything you can select on a slide in PowerPoint, and is not limited to shapes alone.
06 04 01 - Duplicating Shapes, and Drawing Multiple Shapes: Duplicate Shapes by Dragging in PowerPoint (Glossary Page)
Duplicate Shapes by Dragging in PowerPoint 2016 for Mac
Duplicate Shapes by Dragging in PowerPoint 2013 for Windows
Duplicate Shapes by Dragging in PowerPoint 2011 for Mac
Duplicate Shapes by Dragging in PowerPoint 2010 for Windows
You May Also Like: The Encyclopedia of Slide Layouts: Conversation with Dr. Andrew Abela | Education PowerPoint Templates


Microsoft and the Office logo are trademarks or registered trademarks of Microsoft Corporation in the United States and/or other countries.