Although you can search for pictures on Google Images or Bing, these pictures show in web browsers, and even then you cannot use most pictures in your slides since that would be a copyright violation. Fortunately, PowerPoint provides an option to search for pictures on Bing, which makes sure that you find Creative Common pictures so that you don't end up being on the wrong side of the law. Even better, this Bing option shows picture search results directly within PowerPoint.
Follow these steps to learn how to use the Bing option to insert a picture within PowerPoint 2016 for Windows:
- Access the Insert tab of the Ribbon, and click the Online Pictures button (highlighted in red within Figure 1).
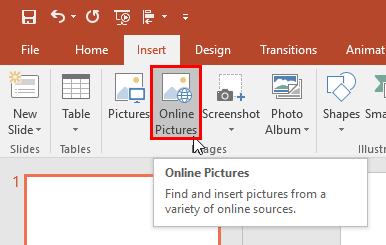
Figure 1: Online Pictures button within the Insert tab - This will bring up the Insert Pictures dialog box, as shown in Figure 2.
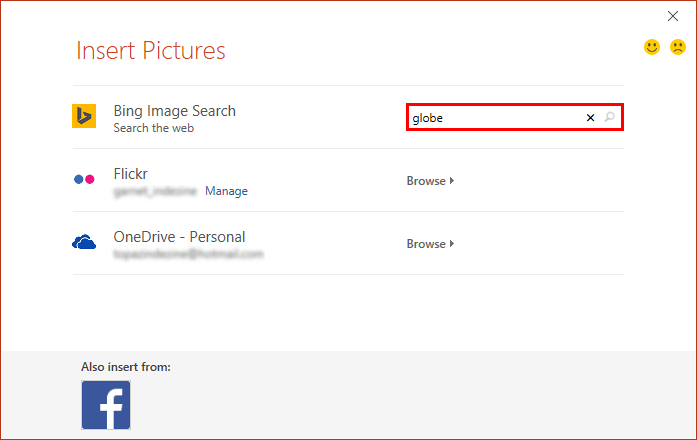
Figure 2: Insert Pictures dialog box - Type in the keyword(s) within the box placed next to the Bing Image Search option and press Enter key. In Figure 2, above you can see that we choose "globe" as our keyword, shown highlighted in red within Figure 2, above.
- Based on the keyword(s) entered, you'll get the results in the next window, as shown in Figure 3.
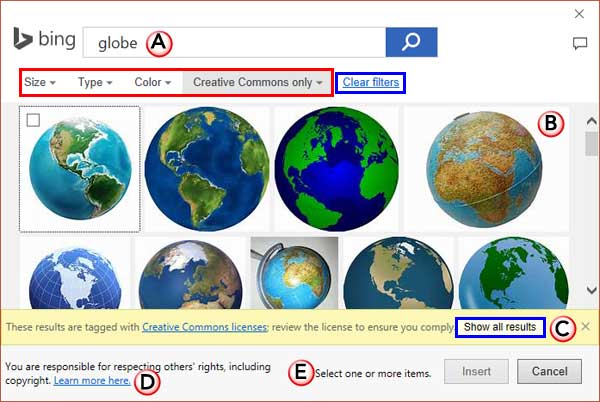
Figure 3: Insert Pictures dialog box with search results from Bing - Options within the search result window are explained below, as marked in Figure 3 above.
A. Search bar
- This search bar allows you to change or enter more search keywords.
B. Search result
- Here you can see all the pictures that Bing provides for the keyword(s) you have used. To fine tune your search results, you can use various search filters, shown highlighted in red within Figure 3, above. Explore more in our Bing Image Search tutorial.
C. Message
- As soon as you see the picture results, you may see a message area. The message says that the pictures shown in the result are licensed under Creative Commons. You can choose the Show all results button or the Clear filters button (both of them are highlighted in blue within Figure 3, above) to see all pictures, including non Creative Commons content. If you click any of these buttons, you can see more results in the resultant window, as shown in Figure 4. It is advisable to use Creative Commons pictures so as to not violate any copyrights.
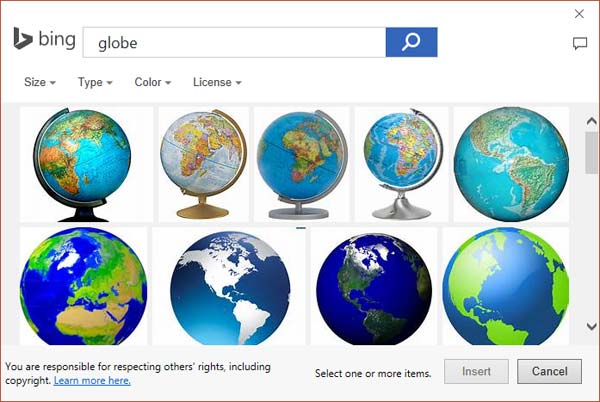
Figure 4: Window showing all the pictures D. Warning message
- Within this area, you will see a warning message stating that the pictures may be subject to copyright and its your responsibility to ensure you have proper rights before using an image.
E. Selected items
- Here you can see the number of pictures you have selected.
Picture source
- To find out the source of any picture, hover the cursor on any image. This brings up a hyperlink as shown highlighted in red within Figure 5. Clicking this hyperlink opens the page in the browser, from where the picture is sourced.
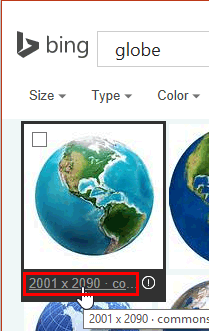
Figure 5: Hyperlink to the source of the picture - Select one or more pictures as shown highlighted in red within Figure 6.
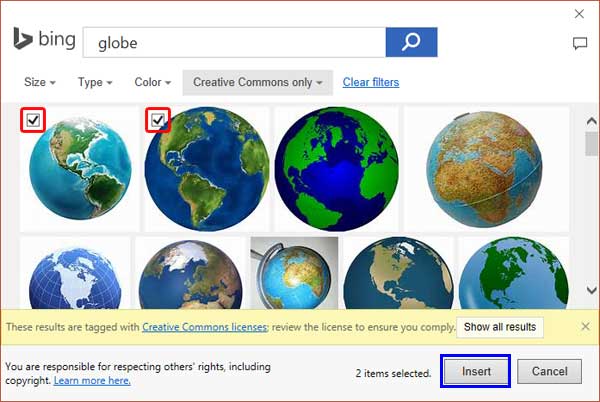
Figure 6: Larger preview of the picture - Then click the Insert button highlighted in blue within Figure 6, above.
- The selected picture(s) will be downloaded and inserted within your slide, as shown in Figure 7.
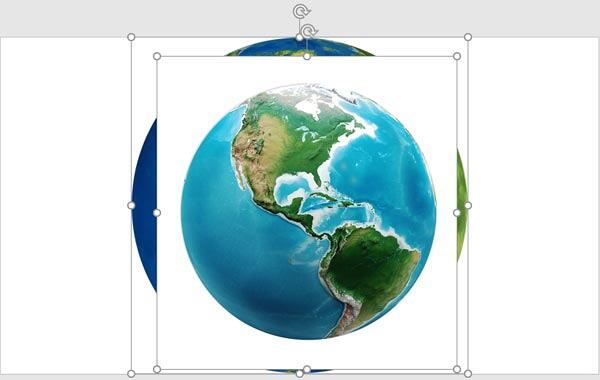
Figure 7: Pictures inserted on the slide - Make sure to save your presentation.
Tip: Want to search only for photographs? Or perhaps you want to search only for illustration type drawings? It's easy with this undocumented tip! Just add the keywords photo or drawing after your search term(s) to limit your searches to photographs or illustrations respectively.
Figure 8 shows results of a search for the keywords, globe photos, whereas Figure 9 shows results of a search for the keywords, globe drawing.
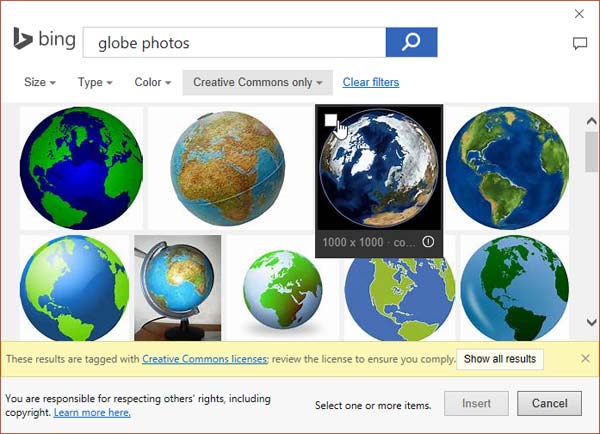
Figure 8: Search result of keywords globe photos
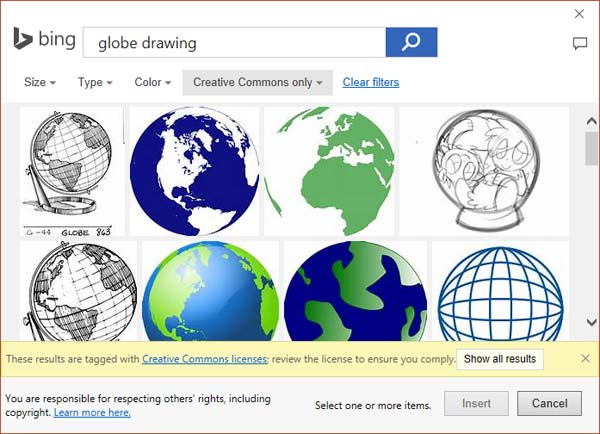
Figure 9: Search result of keywords globe drawing


