You already learned how to play with all the different Crop options in PowerPoint 2011 for Mac. We left out the Mask to Shape option, which we explain in this tutorial. Mask to Shape can be immensely helpful if you want any picture to show contained within a shape. In other words, you start with a conventional, rectangular picture and end with a picture that's contained within a non-rectangular shape.
Figure 1 below, shows a conventional rectangular picture towards the left. Both the examples to the right of the original picture have been created using the Mask to Shape option that you will explore in this tutorial.

Figure 1: Picture cropped into different shapes with the help of Mask to Shape option
Follow these steps to explore more:
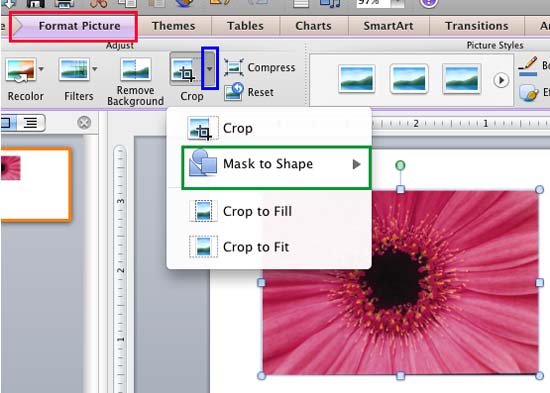
- Before you start, we are assuming you already have a picture inserted on your slide. Select the picture to bring up the Format Picture tab (highlighted in red in Figure 2) of the Ribbon. Activate this contextual tab by clicking on it. Locate the Adjust group, and click the downward pointing arrow in the Crop button (highlighted in blue in Figure 2).

Figure 2: Mask to Shape option within the Crop drop-down gallery Note: The
Picture Tools Format tab is a
Contextual tab. These tabs are special tabs in the
Ribbon that are not visible all the time. They only make an appearance when you are working with a particular slide object which can be edited using special options.
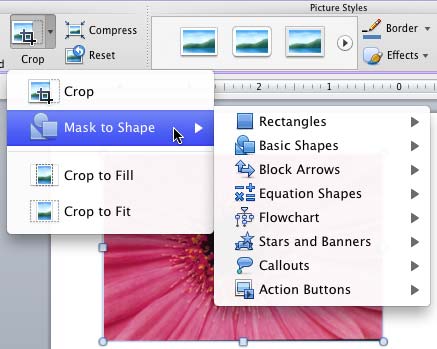
- This opens the Crop drop-down gallery. Select the Mask to Shape option (highlighted in green in Figure 2, above) to open the Mask to Shape sub-gallery as shown in Figure 3.

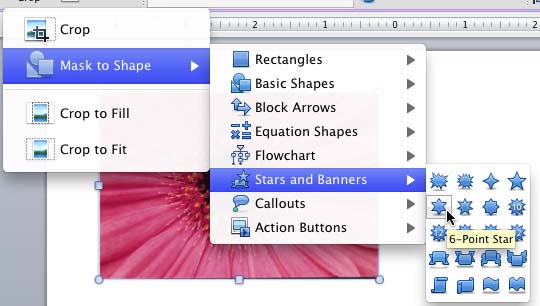
Figure 3: Mask to Shape sub-gallery - In the Mask to Shape sub-gallery, select any shape category to open another sub-gallery including several variants of the selected shape type. Click on any shape variant of your choice. In Figure 4, you can see that the 6-Point Star shape within Stars and Banners category is selected.

Figure 4: Shape chosen for the selected picture Tip: The
Mask to Shape gallery you see in
Figure 4 is identical to PowerPoint's
Shape gallery.
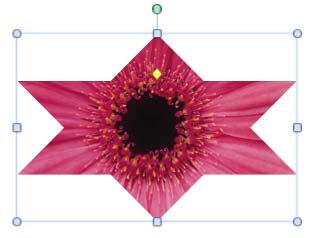
- This will crop the selected picture into the shape you have chosen. Just click away from the selected shape once you are done to deselect it. In Figure 5, you can see that the selected picture has been cropped into a six point star.

Figure 5: Picture cropped into a six point star Note: When you apply the
Mask to Shape crop option to a picture, the resultant shape may not be proportionate in terms of its height and width. The resultant shape may either be wide or long depending upon the orientation of the inserted picture. To resize your picture (cropped into a shape) hereafter to your liking, explore our
Resizing Shapes in PowerPoint 2011 tutorial.
- Save your presentation.
Note: If you apply the
Mask to Shape crop option to a
picture used as a shape fill, you will end up changing the original shape into a new shape.


