In PowerPoint, your inserted movie clip is always placed as in a traditional rectangular shape, which is exactly what most users expect since it does seem safe and conventional. However, PowerPoint allows you to crop your movie to various shapes such as a circle, an oval, a wave, a triangle, or any of PowerPoint's default shapes. However, while selecting shapes for your movie clips, do remember that most of the shapes other than a Rectangle may crop out some parts of your movie clips. That's why you can play around with shapes such as a rounded rectangle. However, but ponder a lot before you place a movie within a semi-circle or a pointed star!
Follow these steps to constrain your video to play within a specific shape in PowerPoint 2011 for Mac:
- Open your presentation, and navigate to the required slide where you have already
inserted a movie clip. Just select or double-click the movie clip to bring up the Format Movie tab of the Ribbon, as shown highlighted in red within Figure 1, below.
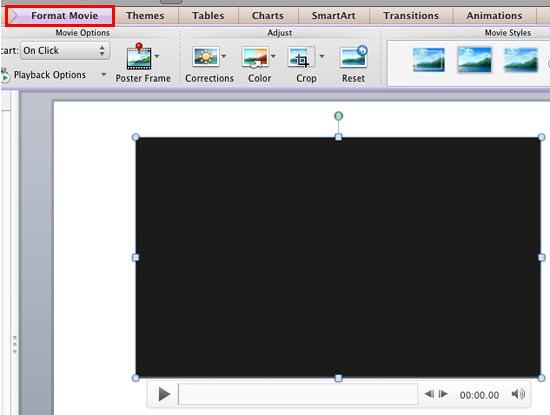
Figure 1: Format Movie tab of the Ribbon - When you insert a movie clip in your slide, it may display a black rectangle on the slide, as shown in Figure 1, above. If your movie clip does not show a black rectangle, directly proceed to Step 3.
- If you see the black rectangle in place of the movie clip, then you will not be able to view the portion of the movie clip being cropped out unless you play the movie clip. To make sure you see a movie frame while you chose various shapes for your movie clip, consider adding a Poster Frame to your movie clip, so that way you will see a movie frame in the place of black rectangle, as shown in Figure 2, below.
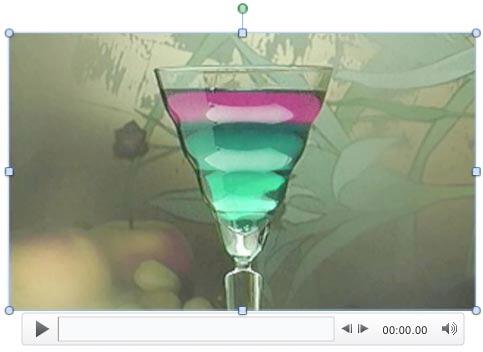
Figure 2: Poster Frame added to the movie - Within the Format Movie tab, locate the Crop button and click the downward pointing arrow next to it that you can see highlighted in red within Figure 3, below.
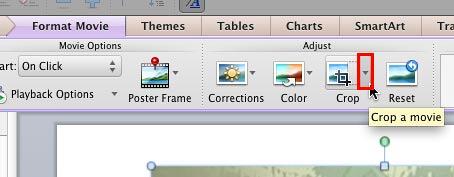
Figure 3: Crop button within the Adjust group - Doing so opens the Crop drop-down gallery, as shown in Figure 4, below. Select the Mask to Shape option (refer to Figure 4 again) to open the Mask to Shape sub-gallery, as shown in Figure 4.
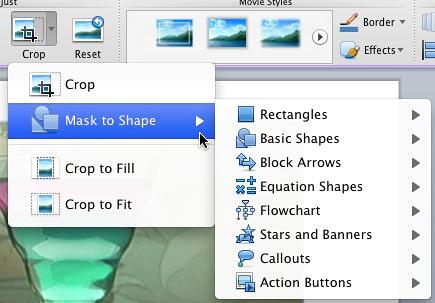
Figure 4: Crop button within the Adjust group
Mask to Shape Sub-Gallery
- The Mask to Shape sub-gallery is similar to the
Shapes gallery in PowerPoint 2011 except that it doesn't include the Lines and Connectors category.
- Within the Mask to Shape sub-gallery, select any shape category to open another sub-gallery including several variants of the selected shape type, and click on any shape variant of your choice. In Figure 5, below, you can see that the Trapezoid shape within Basic Shapes category is selected.
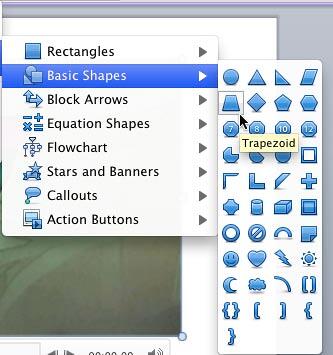
Figure 5: Shape chosen for the selected movie clip - This step constrains the selected movie within the Trapezoid shape. Play your movie at least once to ensure that no important parts get cropped out. Figure 6, below, shows previously inserted movie is now playing within the Trapezoid.
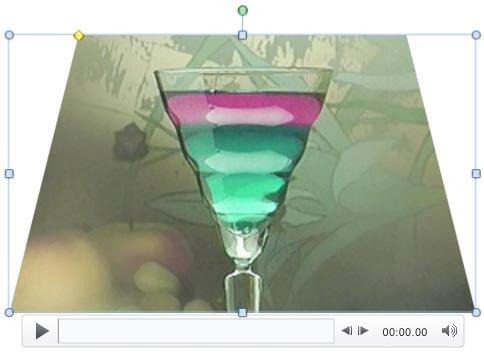
Figure 6: Movie within the Trapezoid shape - Once the shape of the movie clip is changed, you can use Movie Effects, Movie Border, or Movie Styles options to enhance its look.
Choose a Shape Similar to a Rectangle
- Try choosing the shapes that are similar to a conventional rectangle like the ones, as shown in Figure 7, below. This way you can prevent large areas of the movie from being cropped out when a shape is added.
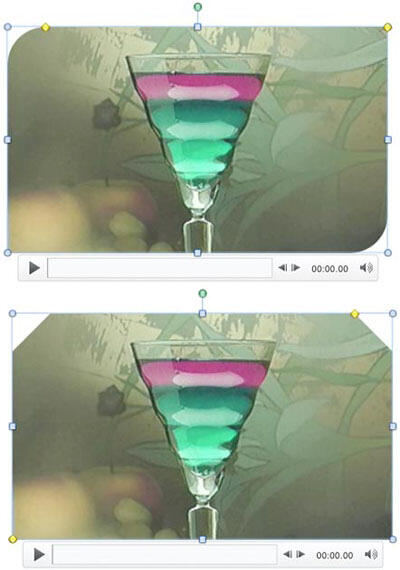
Figure 7: Shapes similar to a rectangle work good as Movie Shapes
- Make sure to save your presentation.
Reset to Revert to a Rectangle
If you want to remove the applied Mask to Shape crop from the movie clip and get it back to the original status, select the movie clip and click the Reset button, as shown highlighted in red within
Figure 8, below.

Figure 8: Click the Reset button to remove applied Mask to Shape crop from the movie


