A Text Card is the last of the three text card types available within the
All Cards pane in Microsoft Sway, the other two being Title and
Heading Cards. In many ways, this Text Card is like a Text Box in a PowerPoint slide – you
just add a Text Card and type in the text content you want to show up on this card!
To add a Text Card, follow these steps:
- If the All Cards pane is not visible, click the Cards option, as shown highlighted in
red within Figure 1, below.
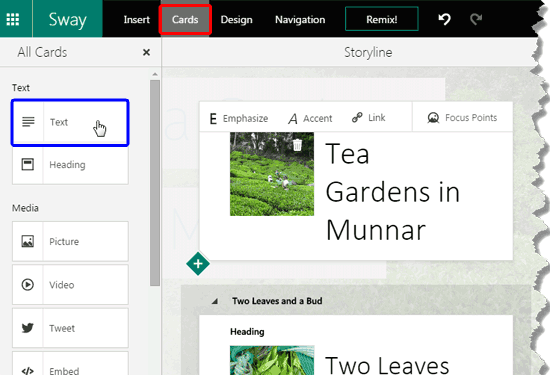
Figure 1: Cards option- Thereafter, within the resultant All Cards pane, click the Text option (highlighted in blue
within Figure 1, above).
- This will add a blank new Text Card, as shown in Figure 2, below.
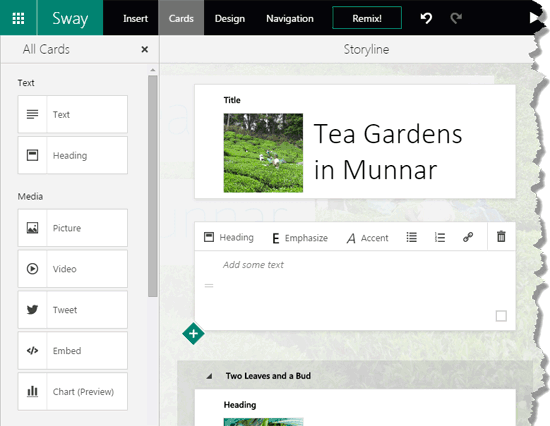
Figure 2: Text card added
- There is an alternative way to add a Text Card. First access the Card after which you want to add a new Text Card. Click the
Plus icon at the bottom left of this Card to bring up a small gallery. Then click the Text option as shown
highlighted in red within Figure 3, below.
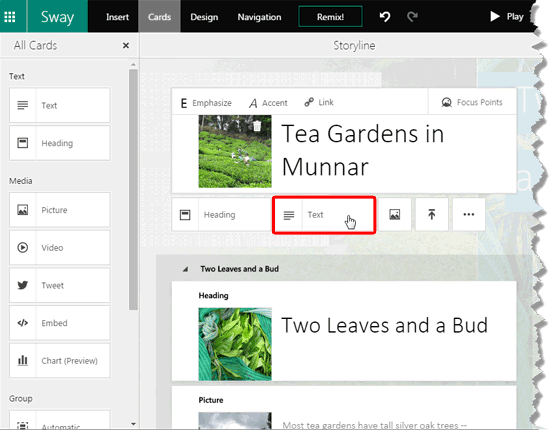
Figure 3: Text option
- Either way you end up adding a new Text Card within your Sway Storyline,
as shown in Figure 4, below.
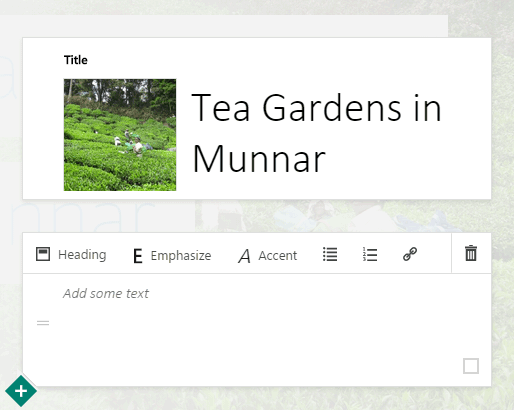
Figure 4: A new Text Card added- You can now type in some text within your new Text Card, as shown in Figure 5, below.
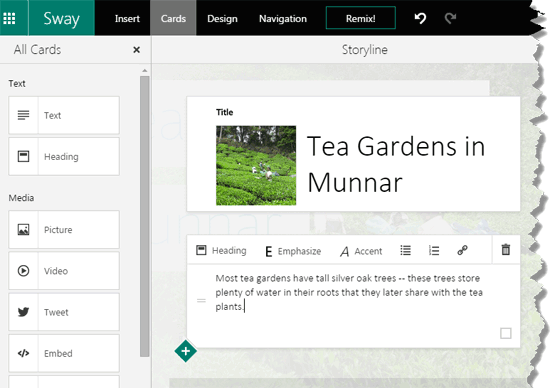
Figure 5: Text added within a Text Card in Sway- You can quickly change a Text Card to a Heading Card by selecting the text and then clicking the Heading option, as shown
highlighted in red within Figure 6, below.
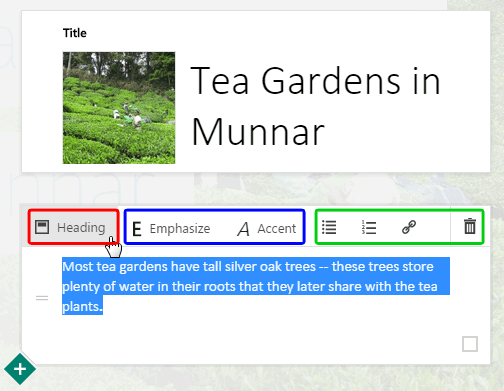
Figure 6: Upgrade your Text Card to a Heading Card!
Tip: Want to undo a step? Quickly press the Ctrl + Z (or ⌘+Z on a Mac) keyboard
shortcut!
- To modify the appearance of your text, begin by selecting the text first and then click either the Emphasize or
Accent buttons (highlighted in blue within Figure 6, above) to make your text bold or
italicized respectively.
- There are four more options in the toolbar as you can see highlighted in green within Figure 6,
above. These modify any selected text, as explained below:
- Bullets: Applies a bulleted list to your selected text, as shown in Figure 7.
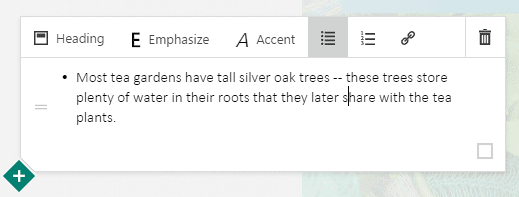
Figure 7: Text changed to bulleted list- Numbers: Similar to the bulleted list option, you can apply a numbered list to the select text, as shown in
Figure 8.
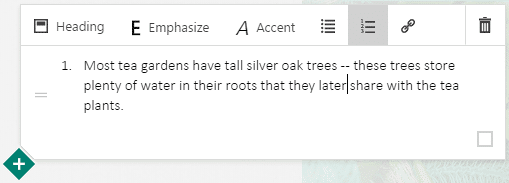
Figure 8: Text changed to numbered list- Link allows to add a hyperlink to your selected text. First select the part of text that you want to link from.
Then click on the Link option. This brings up the Link window, as shown in Figure 9.
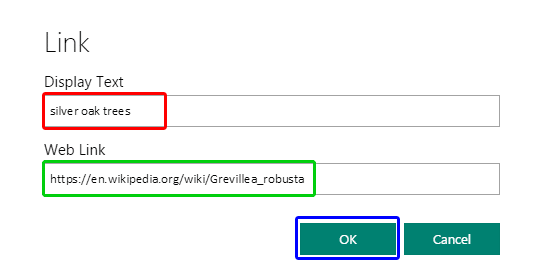
Figure 9: Link window- The Link window shows the selected text within the Display Text box, as shown highlighted in
red within Figure 9, above. Add the hyperlink you want to apply in the Web Link box, shown
highlighted in green within Figure 9. Once done, click the OK button, highlighted in
blue within Figure 9 to apply the link.
- In Figure 10 below, you can see that the hyperlink is applied to the selected text. Remember that the hyperlink
will work only in Preview and in the final output.
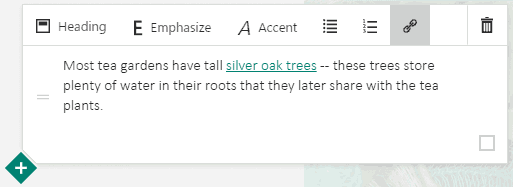
Figure 10: Hyperlink applied
- Tip: Note that you are not limited to just one text enhancement option for your text. You can apply all text enhancements, as
shown in Figure 11 – but do remember that you should only apply these attributes when necessary.
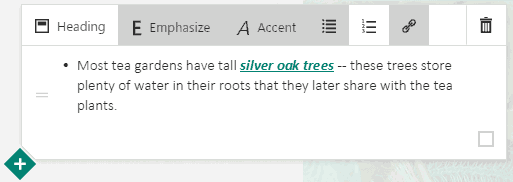
Figure 11: Text with multiple enhancements applied
- Delete: Click the Delete option to delete the entire Text Card.
- Text Cards are just one of the cards that Sway allows you to add within your Storyline –
we will next look at Media Cards.


